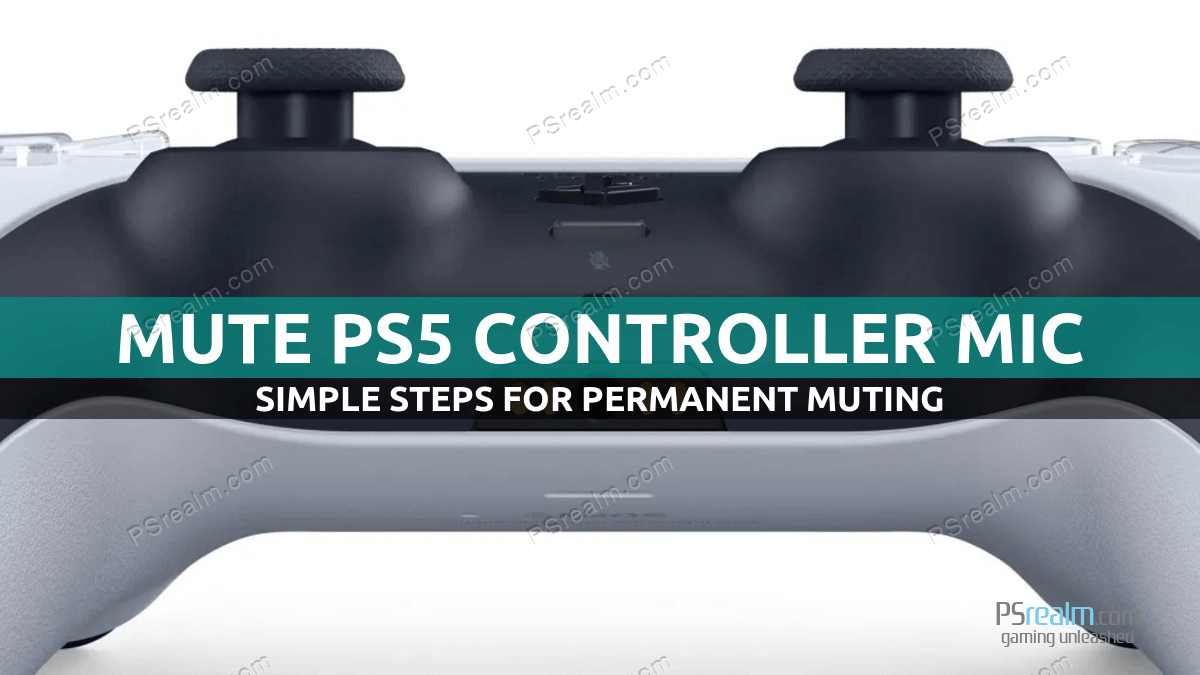
The PlayStation 5 (PS5) is a cutting-edge gaming console that offers numerous advanced features, including a built-in microphone in its DualSense controller. While this feature is convenient for some, others may prefer to disable it, whether for privacy concerns or to avoid picking up unwanted background noise. This article will guide you through the process of permanently disabling the microphone on your PS5 controller.
Step-by-Step Guide to Disable the PS5 Controller’s Microphone
Follow these simple steps to ensure that your PS5 controller’s microphone is always muted:
- Power on your PlayStation 5 and log in to your user account.
- Navigate to the main menu, also known as the home screen.
- Locate and select the “Settings” option, represented by a gear icon in the top-right corner.
- In the Settings menu, scroll down and select the “Sound” option.
- Within the Sound menu, choose the “Microphone” setting.
- Under the “Microphone Status When Logged In” header, select the “Mute” option.
- Optionally, adjust the “Microphone Level” by lowering it to the minimum value.
Manually Muting the Microphone During Gameplay
As an extra precaution, you can also mute the controller’s microphone manually during gameplay. To do this, simply press the “Mute” button on the controller, located just below the PlayStation button. When the button is lit up with an orange color, it indicates that the microphone is muted.
Conclusion
Disabling the PS5 controller’s built-in microphone is a straightforward process that can help you maintain privacy and avoid picking up unwanted background noise. By adjusting the settings on your PS5 and manually muting the microphone during gameplay, you can ensure that your controller’s microphone remains muted at all times. Remember, each user account on your PS5 will need to follow these steps individually to disable the microphone on their respective controller.

